Brinell hardness testers perform the oldest method of hardness testing still commonly in use today.
The method was invented in Sweden by Dr. Johan August Brinell in 1900. The Brinell hardness test is often used to determine the hardness of castings and forgings. The grain structure of these materials is too course for accurate Rockwell or Vickers testing.
Brinell hardness tests can be performed under different conditions and have approximately 25 different test force / ball combinations of testing. The method allows almost all metals to be tested by way of Brinell test by just varying the ball size and test force based on the sample’s dimension and shape. In most cases, as long as the ball size to test the force ratio remains to be constant, the outcome of test results are considered to be accurate when changing between Brinell test conditions.
The test results from a Brinell Hardness tester are used extensively in the industry as a basis of acceptance for commercial shipments, and for quality control procedures. These numbers or results can correlate with other metallic characteristics such as: tensile strength, wear resistance, ductility and others.
Brinell hardness testing procedure;
The Brinell hardness test can be explained as an indentation hardness test consisting of two actions or steps;
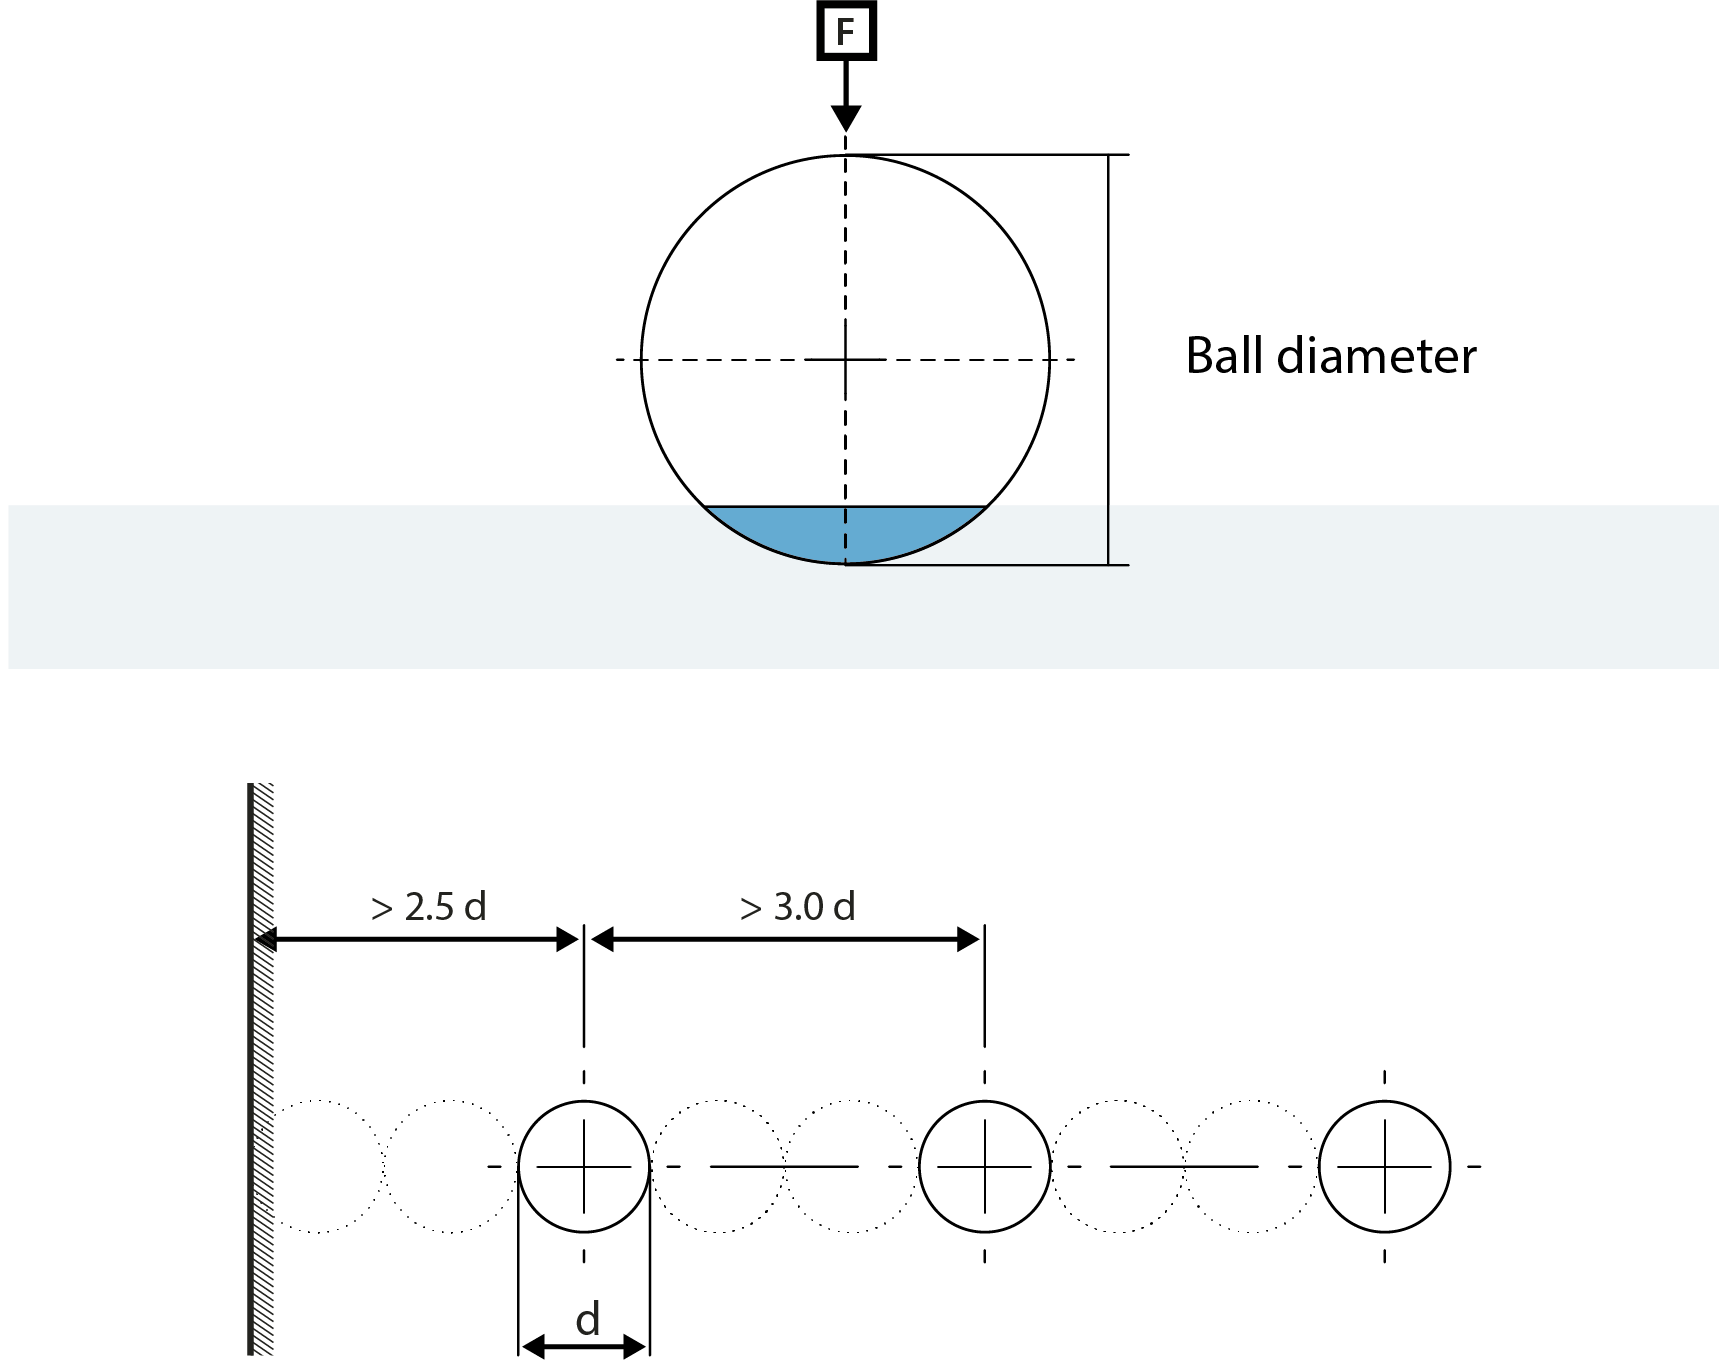
1.) Using a known ball indenter and apply a known force; apply the force through the known indenter perpendicular to the material under test and hold the force on the indenter for a specified amount of time aso know as ‘’dwell time’’.
2.) Measure the diameter of the ball indentation in at two (or more) directions perpendicular to each other. The Brinell hardness value is then calculated from the mean value of the diameter measurements using a mathematical formula developed for this purpose, or more from a chart based on the formula or nowadays by camera systems and software applications.
